

SCANSTRUT CABLE SEALS
A better finish. From the first cable.
Solar, Starlink or your next rooftop upgrade. Explore SCANSTRUT cable seals, understand the choices and find a cleaner way into your RV.
SCANSTRUT CABLE SEALS
Solar, Starlink or your next rooftop upgrade. Explore SCANSTRUT cable seals, understand the choices and find a cleaner way into your RV.
A CLEANER INSTALL STARTS HERE
Start with the job. Then measure the cable and compare your options in the finder.
Already have your measurements? Open the finder ↗Choose a project for a useful starting point. Every seal style stays visible below.
Find your cable seal ↗ONE JOB. DIFFERENT WAYS IN.
Browse by entry style, or use the finder to compare options for your cables. These groups overlap: low-profile and Starlink options also have an entry style.

Along the surface, then through.

Two cables entering together.

Straight through the mounting surface.

For multiple cables. Check the drilling layout and model limits.

A recessed finish. Check the required space beneath the surface.

Check the exact Starlink generation, cable and connector.
MEASURE FIRST. CHOOSE WITH CONFIDENCE.
Cable diameter and connector size answer different questions. Both can matter when choosing your seal.
Measure across the outer insulation in millimetres. The conductor size printed in mm² is a different measurement.
If the connector stays attached, check its shape and widest section separately against the model's passage and installation details.
Also check cable count, mounting space and any clearance below the surface.
Compare your options ↗KNOW WHAT YOU NEED?
Select the colour or option and quantity, then add straight to cart. For more sizes and finishes, explore the full cable-seal range.

Scanstrut
Loading current price…
View product ↗
Scanstrut
Loading current price…
View product ↗
Scanstrut
Loading current price…
View product ↗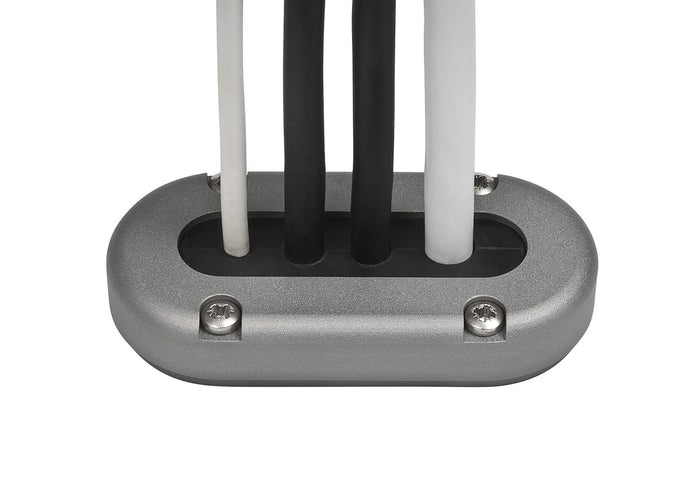
Scanstrut
Loading current price…
View product ↗
BreakFree RV
Loading current price…
View product ↗
Scanstrut
Loading current price…
View product ↗Measure the outside of the cable insulation in millimetres. If a connector must remain attached, its widest cross-section needs a separate check. Cable conductor area in mm² is not outside diameter.
Check the cable layout, mounting geometry and any below-surface clearance with the model-specific instructions. Cable count alone does not confirm fit.
Cable outside diameter is one check. You also need to confirm the cable count, connector passage, entry direction, mounting footprint and any recessed clearance. Use the exact model drawing and instructions before installation.
Match the exact Starlink generation and cable arrangement with the seal documentation. Connector shape and aftermarket cables need a separate check. A Starlink label alone does not confirm fit.
Choose a product option and quantity below to add directly to cart. The cable-seal finder also supports a saved list and Quick order for multiple items. You do not need to create a project to buy a single seal.